Overview
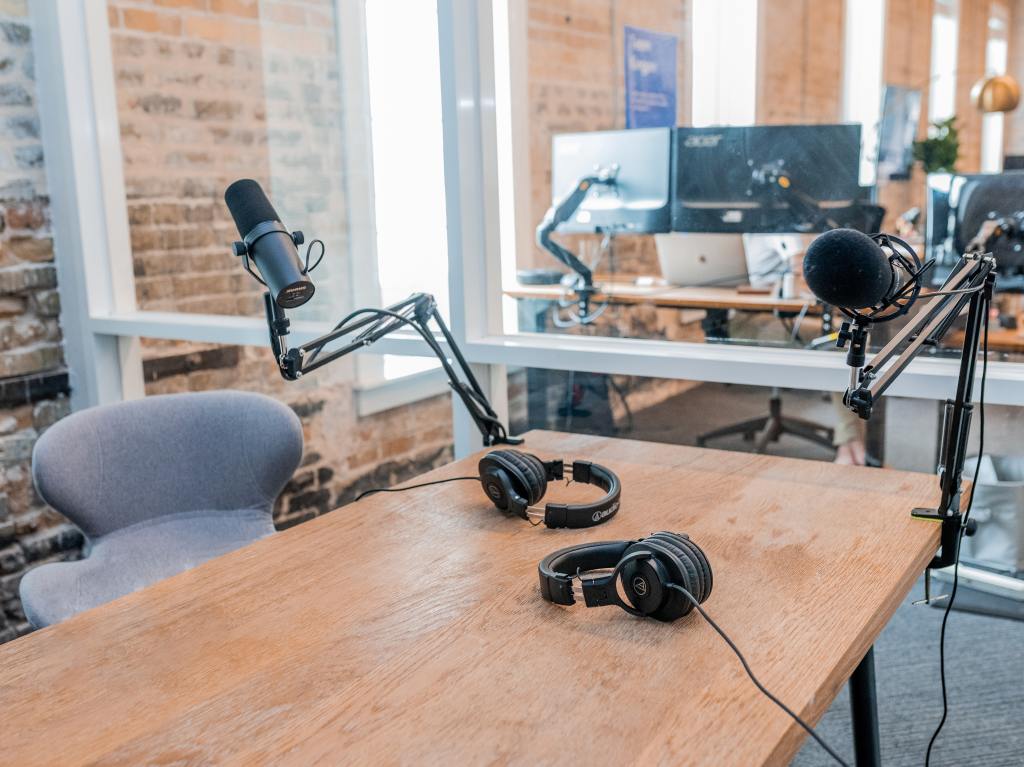
In this module, I recorded and edited a short podcast episode about human-centered design. I recorded using the built-in microphone in my 2018 MacBook Pro and sourced all of the music and effects from freesound.org. I also read about tips for editing audio and best practices for combining audio and video.
Reading & Writing
Recording Tips
Recording at home can be challenging, but even beginners can sound professional with the right tools and tips. Filippo Geatani from Sonicbids is a producer, sound engineer, and composer with plenty of advice and guidance to get the best at-home recording possible.
The first step is making yourself comfortable and being in a neutral space. A large room will produce echoes and sound “wet.” Bedrooms work well because they contain items like beds, blankets, and curtains that absorb sound.
The next step is setting up the microphone. Test out different distances and decide which sound will work best for your track. Start up close – two to three inches from the mic – and then try moving back to about a foot away. It’s important to always use a pop filter in front of the mic so “p” and “t” sounds aren’t too intense. Once the mic is set up, you need to get the proper levels, ensuring the vocals aren’t distorted.
Now we can start recording! Geatani suggests doing several takes, singing the entire song twice or three times. If you’re not satisfied with the results after several takes, it can be highly beneficial to take a break and return to it later.
Once the recording is complete, we can edit the vocals. It is best to use large portions whenever possible because breaking it up can dimmish the energy of the performance. The goal is to focus on the performance rather than the pitch because that gives the final product personality.
Finally, high-quality plugins for DAWs can help achieve clear processed vocals. Some basic effects include a parametric EQ to reduce undesirable frequencies and enhance others, compressors, a de-esser, a few different delays, and a few high-quality reverbs.
Editing Audio for Video
Now that we know how to record and edit standalone audio let’s consider audio for video. Once a video is introduced, audio is often forced to the back burner. Still, it is vital to give equal importance to audio because it can drastically enhance the final look of any production. Hal Robertson from VideoMaker has some excellent advice on maintaining the balance for a great final product.
A-roll is a term referring to the primary content for a production. This includes video and audio of the subject. It is essential to use the best audio recording equipment possible for a-roll. B-roll is supplementary and supporting content that might not make it to the final cut. B-roll for audio might include background sounds like traffic, people taking, or birds chirping.
Once all the content is recorded, it’s time to start piecing it together. The best way to get compelling audio is to edit it separately from the video so you can use it to tell the story. Once this is done, it’s time to align the audio and video to create a complete story. Use your software’s trimming tool to break up the sections of audio. To get a smooth transition between clips, overlap the ends and use the rubber bands to make fade-ins and fade-outs. When all the clips are lined up, close your eyes and listen to the final recording to ensure the transitions are smooth and there are no glitches.
If you’re having trouble smoothing the audio, a quick trick is adding background music. It helps cover some rough patches and gives the audience something else to listen to and focus on.
Once the audio is complete, it’s time to edit the video. Use cross-dissolves for jump cuts that have the same subject but different framing. You can also use a flash which places a few frames of color in the cut, distracting the audience so they don’t notice the different framing. Be careful not to overdo this transition because it can get old quickly. Use relevant b-roll in other places to fill in any gaps.
For a polished and professional sound, export the audio and edit it as an entire program. In audio software, you can apply compression, limiting, and equalizing to flatten the sound, making it seem more professional. Once you’re happy with the audio, bring it back into the video software, and the process is complete.
Research to Inform
Jacob Collier
In this video, musician Jacob Collier plays the folk tune Danny Boy to match different emotions. The emotions are presented to him in real time, and he decides how to represent them on the spot musically. Collier works through three tiers of emotion, starting with simple and ending with highly complex.
After each tier, Collier reviews what he played for each emotion, assessing it from a music theory standpoint and emotional interpretation. I found it very interesting that the more complex emotions had foundations in the simple emotions, often combing techniques to create a musically and emotionally rich product.
The Girl with the Dragon Tattoo Trailer
This trailer for The Girl with the Dragon Tattoo differs from most; it doesn’t use dialogue. Instead, it uses emotionally charged music with a strong female vocalist. There are limited sound effects until the very end when the words “Columbia Pictures presents the from the international best-selling trilogy, the feel bad movie of Christmas, The Girl with the Dragon Tattoo” appear on screen one at a time. With each new word, the dissonant sound grows more intense, drawing the viewer in, and leaving them desperate to know what the movie is.
Having read the books, I think the lack of dialogue is highly appropriate because Lisbeth, the main character, rarely speaks. She is extremely introverted, independent, and distrustful, so most of the series is told through other characters’ dialogue or her internal thoughts. Despite her silence, Lisbeth is powerful and doesn’t let anyone mess with her. The intense music and glimpses of different scenes from the movie do an excellent job of communicating Lisbeth’s character without giving anything away.
Community “That’s What Christmas Is For”
In this Christmas episode of Community, the typically live-action show takes on Claymation form. As such, the music and sound effects are much more noticeable for effect. This scene begins with the characters in a cave which is reflected in the audio with reverberation. As the characters break down the meaning of Christmas, dramatic music swells as it often does in an emotional moment in holiday classics. The characters soon break into song, reinforcing the cliché resolution in most Christmas movies.
This scene also has excellent use of sound effects. The characters use their Christmas weapons to defeat Duncan, the wizard. As the focus shifts from character to character, you can hear subtle differences in the sound effects that emphasize their weapon. This attention to detail makes the scene feel more realistic. Even though the weapons are fictional, they make sounds that make sense for the function they appear to serve.
Create
Below is the podcast I recorded called “Exploring Design: How Human-Centered Design Created the Happiest Place on Earth.”
